How to Make Rosin at Home
Rosin extract has become increasingly popular in the last 5 or so years. Because it's so versatile in use, solvent-free, and has great expression of flavor, rosin is now one of the most popular ways to consume cannabis.
Previous to it being so popular, and even before it hit shelves in stores, it was a quick and easy way for growers and connoisuers to test out flavor and potency of flowers.
Today, there is a lot of very nice equipment, such as pressure- and temperature-regulated presses, dry sift screens, precut parchment, and collection funnels, all used to make incredible rosin! Lucky for all cannabis lovers, you too can make perfect good rosin at home, without breaking the bank!
Materials Needed to Make Rosin at Home
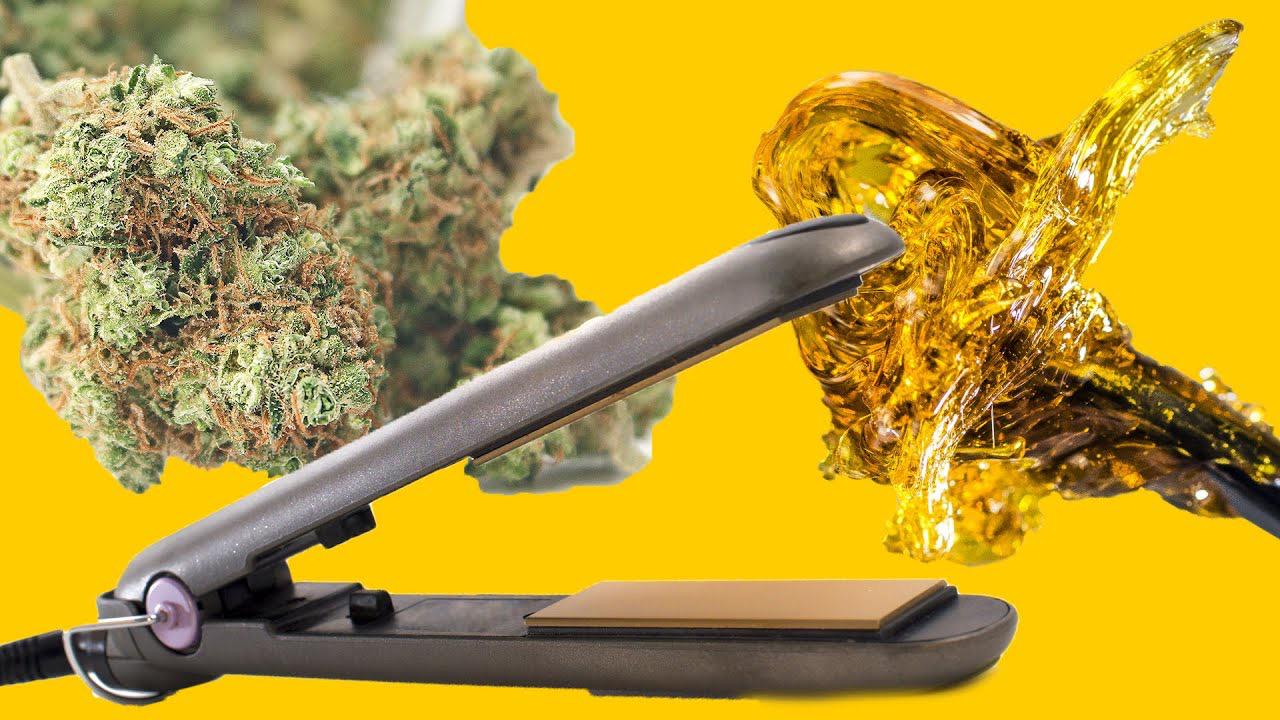
You will need some materials and tools to make rosin at home. I put together a list of necessities, most of which can be bought in your local grocery and/or hardware store. If not, then the trusty Amazon is sure to have them!
I've included item links as most of these items can be purchased at Walmart, and Walmart is accessible to nearly everyone!
1. Hair Straightener
Try to find one with a digitally adjustable temperature and wide plates. The lower the temp, and wider the plates, the better!
**DISCLAIMER: do not use your wife/girlfirend/sisters/duaghters straightner. Buy a dedicated straightener! That way Grandma's day isn't ruined when shes trying to get ready for bingo night. Trust me on this one, I may know from experience**
Here is my preferred straightener to use.
 Buy Now
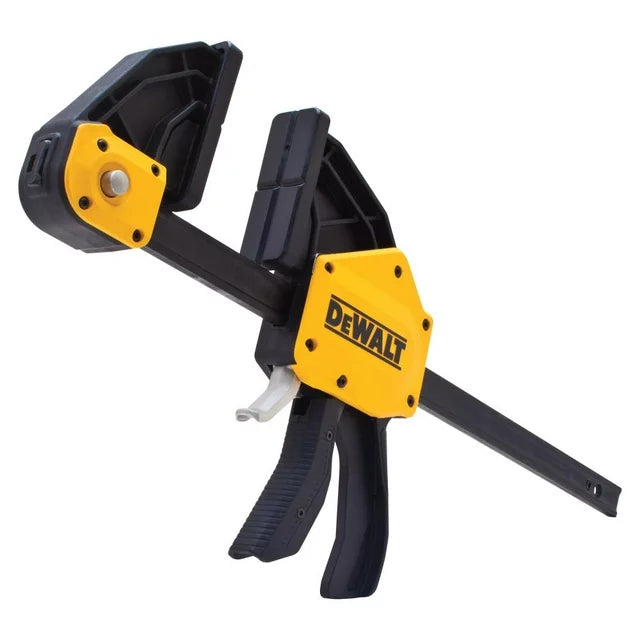
2. Trigger Clamp
Size matters! Try to get a clamp that has a higher grip strength, at least 200lb!
I prefer the dewalt brand:
 Buy Now
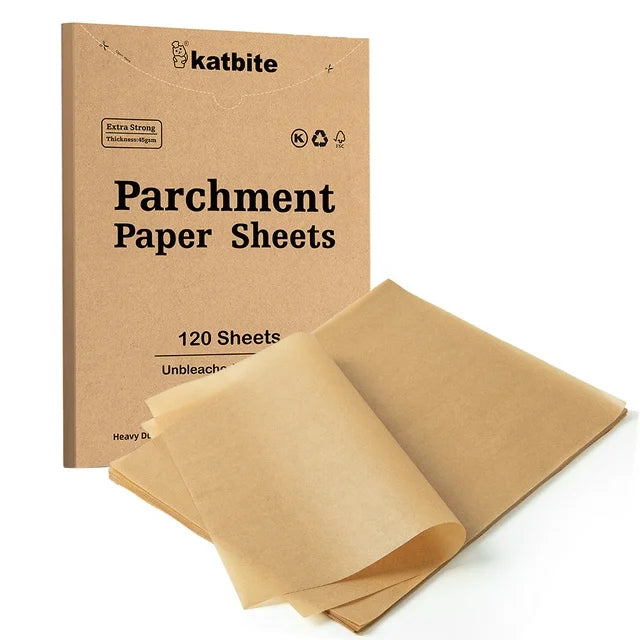
3. Parchment Paper
The only real consideration of parchment paper is that it is unbleached and heavy duty. I prefer to use pre-cut sheets as they are easier to work with!
Here is my parchment of preference:
 Buy Now
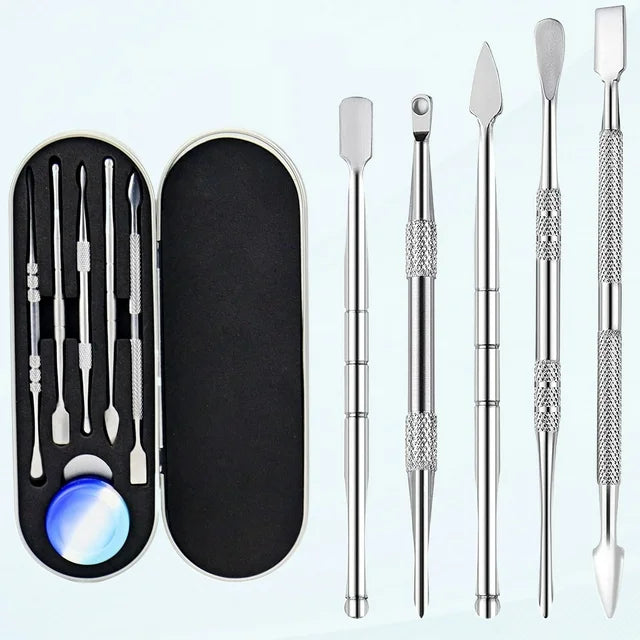
4. Collection Tool
Any type of dab or scraping tool will work. I have even used paper clips when I'm on the go!
This isn't a necessary item, but it's a nice kit that will fit all your rosin and dabbing needs:
 Buy Now
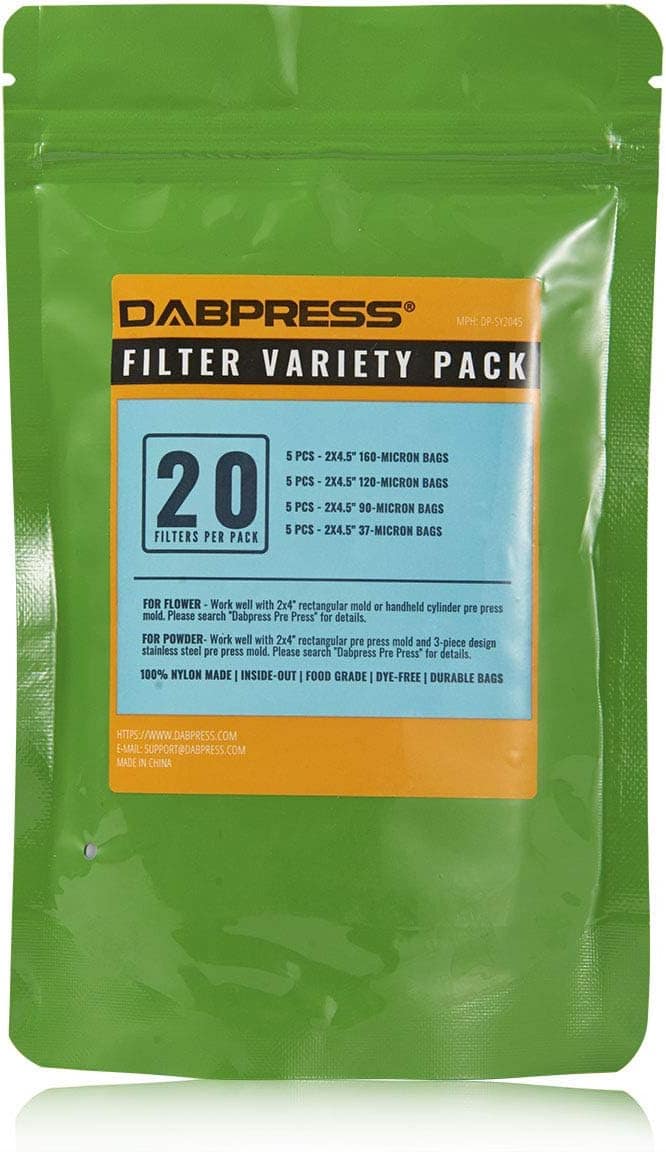
5. Pressing Bags
In my opinion, this is the only area you don't want skimp, or to cheap out. Quality bags can save you a lot of time and headaches. There are different micron mesh bags used for different materials: the lower the number, the smaller the pores in the bag.
If you plan on pressing hash, you would be best suited using aorund a 15-35 micron. If you're pressing kief or dry sift, you may want to consider 35-73 micron. If you're pressing flowers, try 90-120 micron bags.
Basically, with any material you press, the lower the micron-number, the higher the quality and lower the yield; the higher the micron-number, the lower the quality and higher the yield!
If you're pressing flowers, it's not 100% necessary to use bags, but they tremendously helps keep particulates out of the rosin, which increases quality and enjoyment.
Here are my preferred bags:
 Buy Now
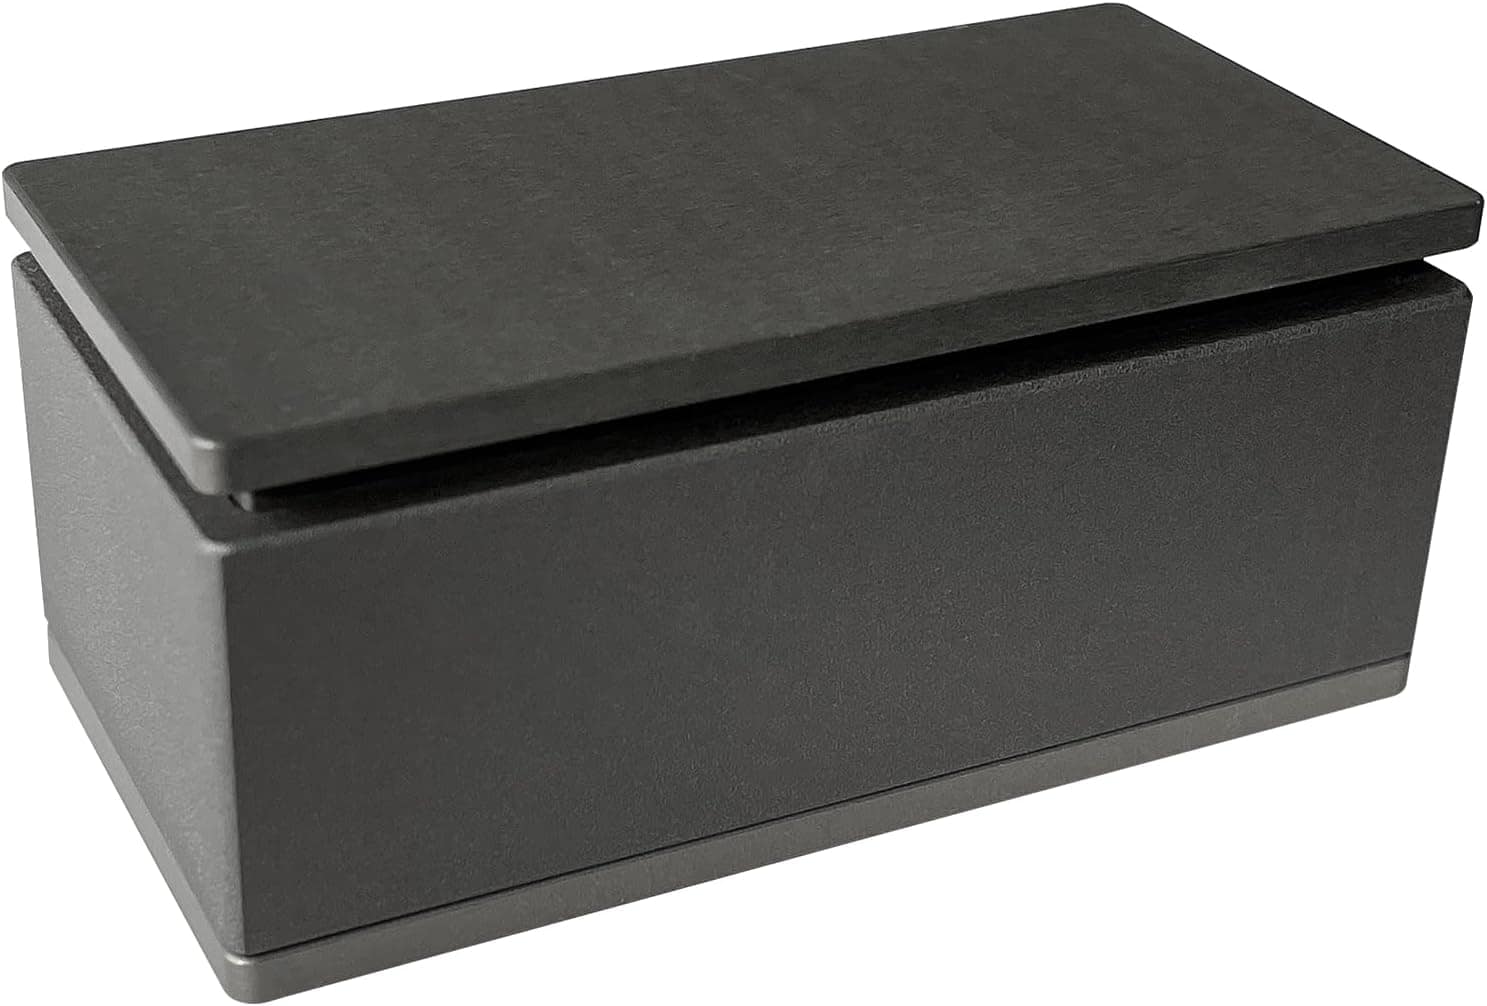
6. A Pre-Press Mold
Using a pre-press mold to shape your material prior to pressing is a real game changer. It helps keep the bags intact and prevent blowouts. You don't have to buy one, you can make one of your own using bottle caps, pill bottles, or pvc.
The idea is to pre-form the material into a puck to keep it intact during the pressing process. If you're pressing flower, it's not mandatory; but similar to using bags, it tremendously helps keep particulates out of the rosin, which increases quality and enjoyment.
This isn't the exact pre press mold I use, but it's much cheaper and looks identical:
 Buy Now
How to Make Rosin Step by Step
Now let's go to the fun part - the process of actually making rosin!
1. Material and Press Prep
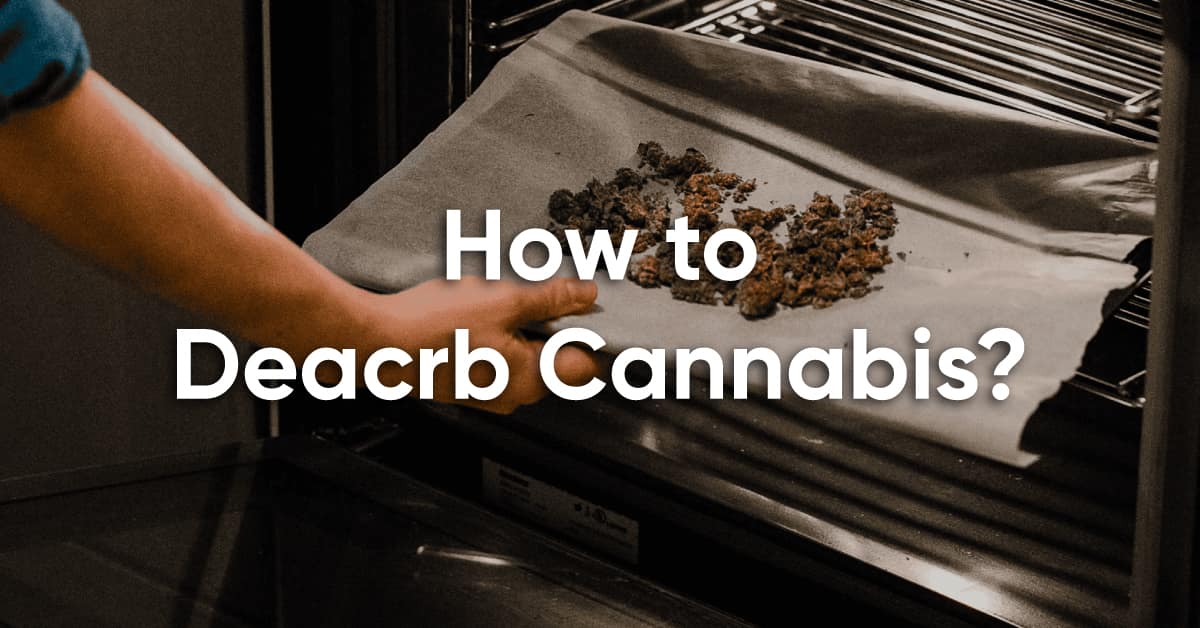
If you're pressing hash, kief, or dry sift, there isn't much prep needed other than making sure your material is clean and dry. If you're pressing flower, you will need to remove all stems, and as much leafy matter from the buds as possible. Turn on, and preheat your straightener on the lowest temp setting, so its ready to go!
2. Pre-molding
Now that your material is ready for molding, place it in your premold. Place your premold into the clamp and give a slight squeeze so it forms a puck.
Do not over clamp the premold! You do not need to give it full pressure, only enough to form it and have it keep its shape.
3. Bag Setup
Now that you have a puck of material, it should very easily slide into your pressing bag. Make sure you have some room at the end of the bag (about 1/2 of an inch) to fold it over the open end. The fold will give the bag some room to expand and help prevent blowouts.
4. Pressing
Grab a sheet of parchment, and crease it in the center. Place your bag of material in the center of the crease, and leave about 1/4 of an inch between the crease-fold and the bag. This will allow room for the rosin to release from the bag.
Place the parchment into the straightener, long ways. Then put the straighter into the clamp, long ways as well; the length of the clamp should run parallel to the straightener, and not intersecting it, or creating a T shape. Make sure your straightener is hot, and on the lowest setting.
Close the clamp just enough so its pressing on the bag, but not yet squeezing. Give it about 5-7 seconds to preheat the material in the bag. Then start applying pressure via the clamp: apply the pressure gradually, but not slowly. Continue to apply pressure until you feel that you can no longer squeeze or apply anymore pressure. You will notice a nice flow or bubble of rosin extrude from the bag!
5. Collecting
Release the clamp's pressure, and remove the parchment carefully-it's hot!
Remove the spent bag from the parchment, and keep the parchment folded/closed. Set it aside to cool for about 5 minutes (if you have other material to press, wait until you are compleltley finished before you start collecting the rosin).
Once cooled, open the parchment, and use your tool of choice to collect the sticky oil from the parchment. You can use a rolling, or gentle scraping method to collect it!
6. Enjoying It!
The rosin is now ready to enjoy! There are so many ways to use and consume rosin, that is part of what makes it so wonderful!
You can dab it, smoke it in bowls of flower, add it into or on top of a joint, vape it, cook with it, mix it with oils and use it topically, or even eat it raw!!
7. Going the Extra Mile
Some users who make rosin will take it an extra step to change its consistency. If you're interested in different rosin consistency, there's a full guide on how to achieve them.
Once you have pressed all your material, you can collect the pressed rosin "chips" from the bags. You can repress them at a higher temp to make sure all the oil is fully extracted. The "second press" oil is typically of lesser quality, and has less flavor, but is awesome for cooking!
You can also gather all the empty bags and repress them to get all the oil out of them. Once repressed, you can soak them in alcohol and reuse them!
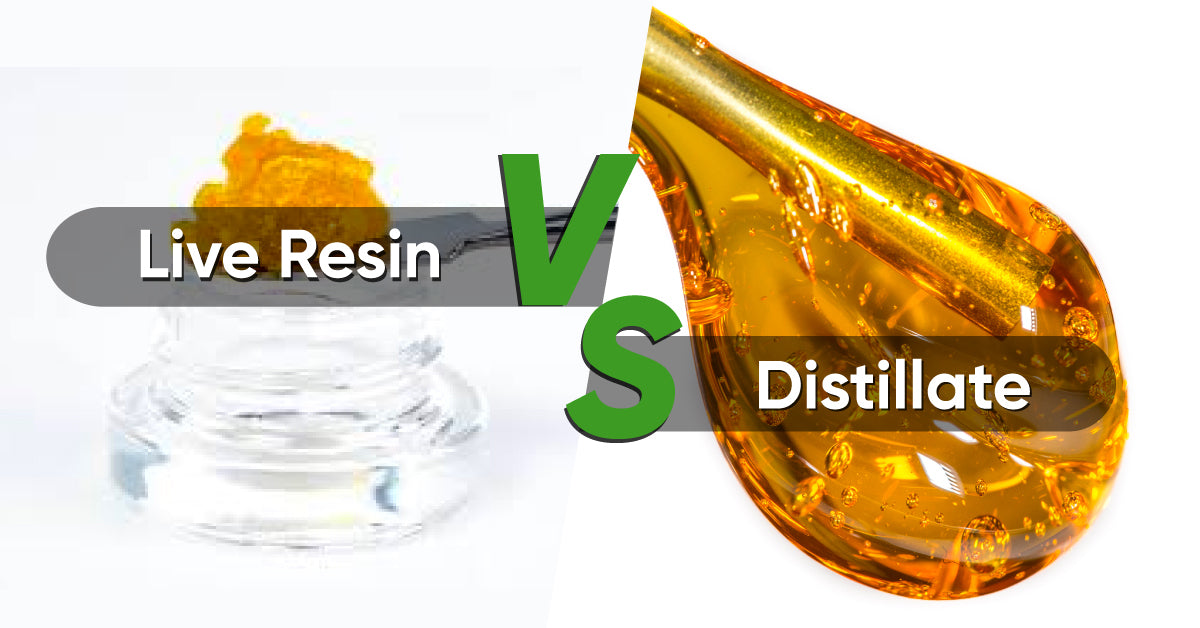
Rosin vs Resin: What's the Difference?
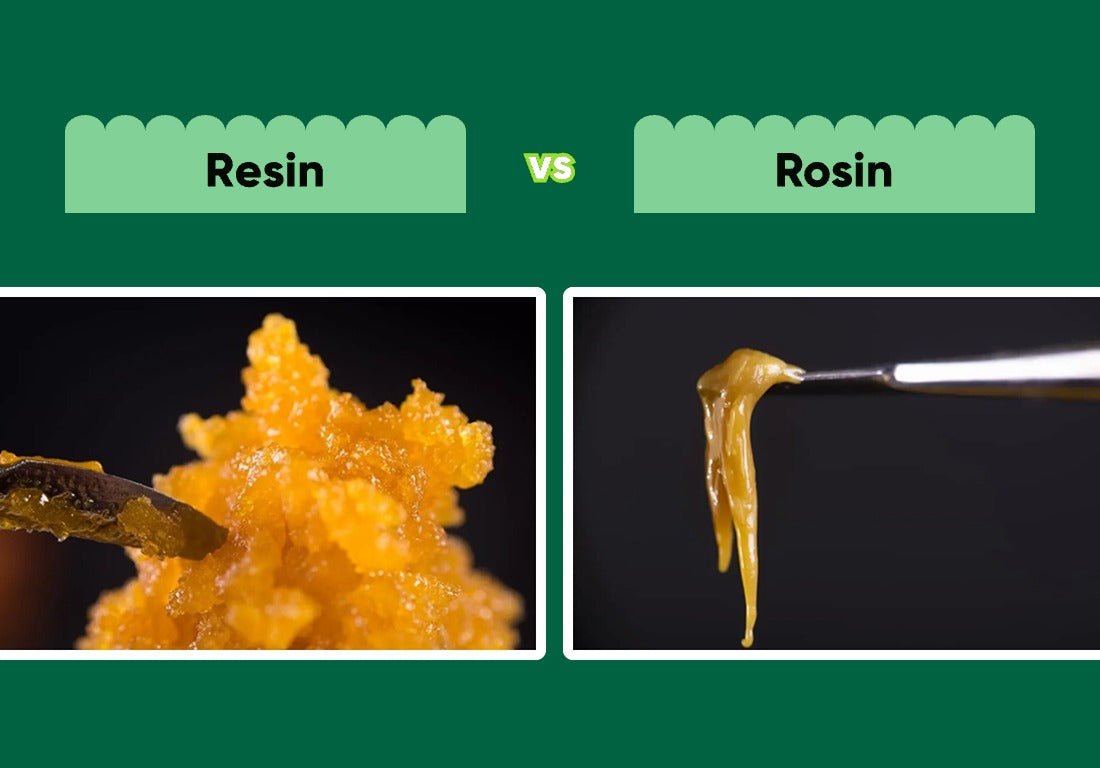
Rosin is created through a simple process of applying heat and pressure to cannabis flower or hash, without the need for solvents. On the other hand, resin is extracted using solvents like alcohol or hydrocarbons to isolate cannabinoids and terpenes from the plant material.
In terms of composition, rosin is a pure cannabis extract, retaining the natural flavors and effects of the plant. It typically has a sap-like consistency and ranges in color from light amber to dark brown. Resin, on the other hand, comes in various textures such as shatter, wax, or oil, and can vary in color from light yellow to amber.
When considering safety and purity, rosin is often considered the safer option as it does not contain any solvent residues. Resin, while offering higher concentrations of cannabinoids and terpenes, may contain traces of solvents if not properly purged during the extraction process.
Get Weekly Expert Tips, and Grow Healthy Plants
Join our newsletter to get exclusive growing tips delivered directly to your inbox.

